Evaporated Milk, a key ingredient in numerous recipes, adds a rich, creamy flavor to everything from desserts and savory treats. But what if you find yourself in the need of this essential ingredient and the pantry is empty? Fear not, as homemade evaporated milk could be the answer! It’s not just the perfect solution for those final-minute cooking projects, but it lets you determine the source and quality of ingredients. We’ll explore the realm of evaporated milk at home and see how easy it is to make the essential kitchen ingredient using scratch.
Evaporated milk occupies a distinct position in both traditional as well as contemporary kitchens. Born out of the need for a simple dairy product that would not spoil easily, its production involves a process that reduces 60% of the liquid content of milk, while also concentrating the flavors and nutritional value. This results in a light somewhat caramelized liquid that gives depth and richness to many recipes.
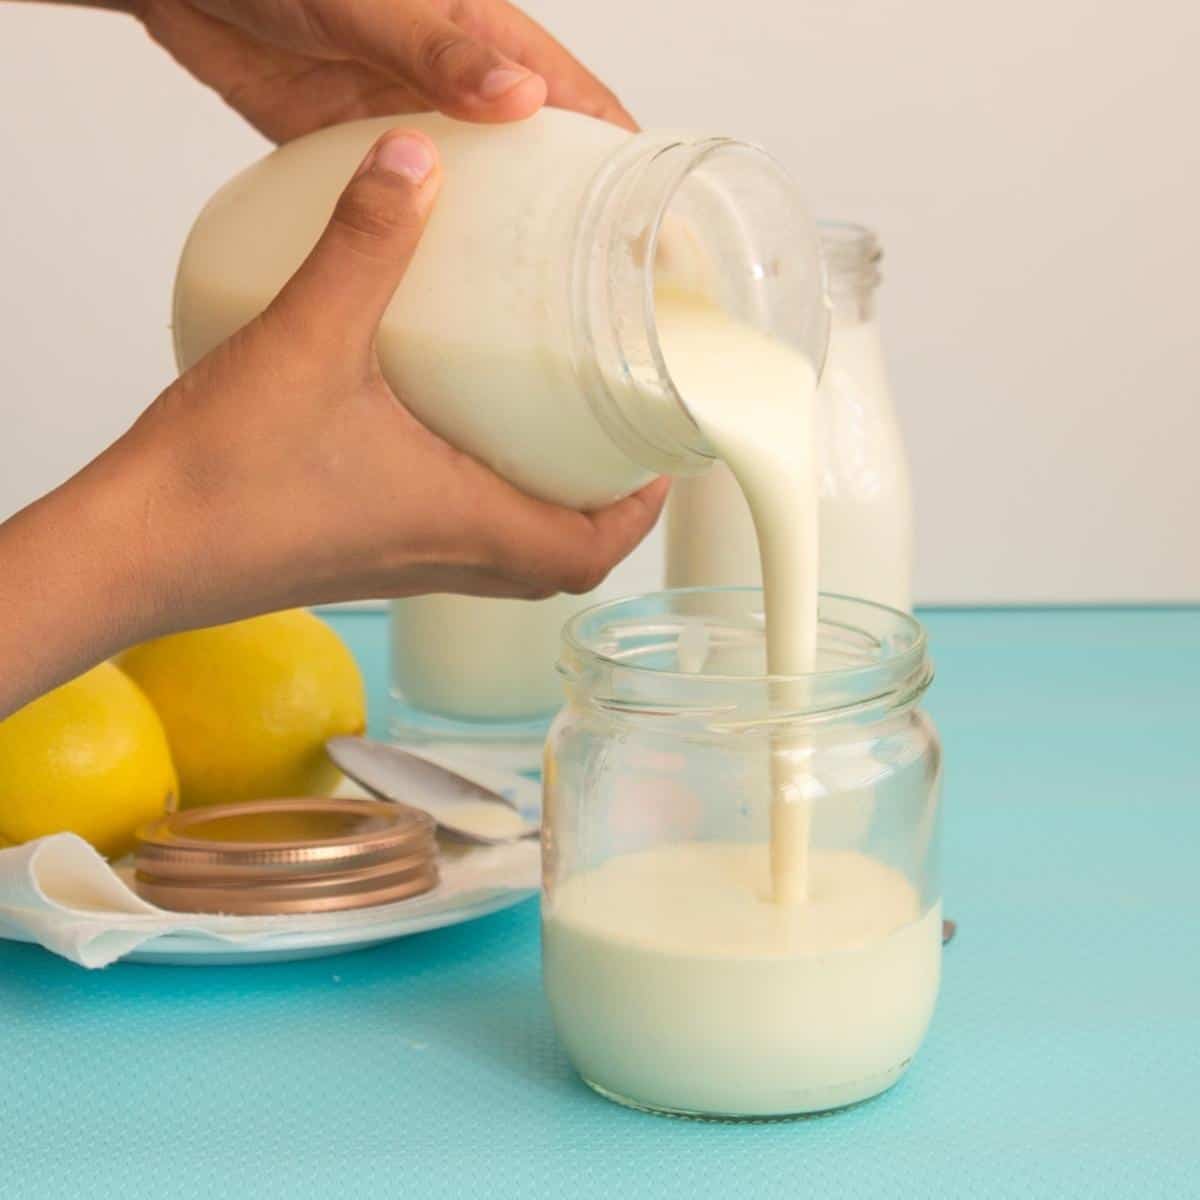
Creating homemade evaporated milk is very simple and involves only one ingredient: regular milk. Whole milk works best due to its higher fat content. It also contributes to the creamy texture in evaporated milk. Begin by pouring the amount you want into a heavy-bottomed pan. It’s best to start with a higher amount milk than you will need for the final amount of evaporated milk that you require because the quantity of milk will diminish as it simmers. On medium-low heat, gently simmer the milk while stirring often to avoid scorching. When the water content is evaporated then the volume of milk will diminut, and the naturally occurring sugars will begin to caramelize slightly adding flavor. This can take anywhere from 1 – 1.5 hours, depending on the quantity of milk and the thickness you want for the final product.
The process of creating what is evaporated milk at your home needs just a little patience and the ability to keep an eye on things. Begin by choosing your base milk and pouring it into a pot with a thick bottom. In a slow process, heat the milk on simmering at a moderate heat and stirring occasionally to prevent scorching. While the milk cooks, its water content gradually evaporates leaving behind the concentrated milk. The process of reducing can take about an hour during which you can multitask however, you must be attentive to ensure that the milk does not boil.
Once the milk has reached the consistency you want, take the pan from heat and let it cool down for about a couple of minutes. When it cools the evaporated milk is likely to continue to get thicker. When it is cool, you should transfer the homemade evaporated milk to a clean and airtight container. Store it in the refrigerator and it will remain for up to 5 days. Remember that homemade evaporated milk lacks the stabilizers used in commercial brands, which means it can separate after a while. Simply give it a good shake prior to serving in order to integrate any separated components.
Once you’ve crafted your homemade evaporated milk, allow the milk to cool prior to transferring it into a clean, airtight container. You can store it in a refrigerator for upto five days. If you’ve made a larger batch, consider freezing portions in ice cube traytrays for easy measurement and thawing at times when you require. Keep in mind that homemade evaporated milk lacks the stabilizers commonly found in commercial formulas, and it could separate slightly after the thawing process or when stored. It is best to give it a good shake or stir prior to use to incorporate any separate components.